CLEANING UP OUR MESS OF A MUD KITCHEN - WITH AN EASY DIY, AND PURPOSEFUL PLAY WITH FUN ACCESSORIES
We have all seen the Pinterest-worthy play spanning Instagram donning beautiful outdoor kitchens for kids. I was over-the-top excited when a company reached out last summer to collaborate with their brand of mud kitchens! I just pictured darling, child-led play and a piece of wooden furniture that was going to last us years. What I was not prepared for was the poor quality of many brands and the quick wear that is possible. Disclaimer: I am going to be very honest with my thoughts in this post without sharing the mud kitchen company’s name out of respect for them. Despite an adorable design, our mud kitchen was a doozy. You can follow the steps provided in sections below for most wooden mud kitchens to offer a refresh seasonally, or as needed. Storing your mud kitchen after its makeover on a covered porch or in a garage will prolong its life. Covering with something along the lines of a fabric grill cover is a great idea during times of inclement weather, as well.

What happened with our mud kitchen? Not only did the prefabricated item arrive missing important parts of the prefabrication process (ie. drill holes for the back support and instructions)… the back was very rough and I had to be cautious myself not to get splinters. I also quickly noticed that the material was not treated or protected; it was virgin pine which is prone to fast wear. For the advertised cost, I was already disappointed and hesitated to promote the product. After a few months being stored on our covered porch with limited use, I noticed water rot and splitting of the counter. I did not want my children playing with it at this point, but decided I would wait until Springtime to possibly sand down. Once spring came, I couldn’t keep my two-year-old daughter away from it despite its poor condition. I knew I had two options: throw it away or fix it up quick.

Well, this weekend sported some less-than humid weather and warm sunshine, so it was the perfect opportunity to jazz it up if I was ever going to do so. My husband ran to the hardware store to grab something for my oldest son’s toy, and I gave him a call hoping to catch him before he left, “Can you grab us a hand sander….?” I am sure ideas were running wild in his head…what was I up to now? He came back with a sander, and while he planted some more bushes in our garden beds, I was blasting away the top layer of splintered wood and water rot. At this point, I still wasn’t fully committed to saving it, nor had I any idea of next steps. But once that first layer of gross and ouch was gone, I realized this was going to be the day’s hyper-fixation and sleep wasn’t going to come until I was through.
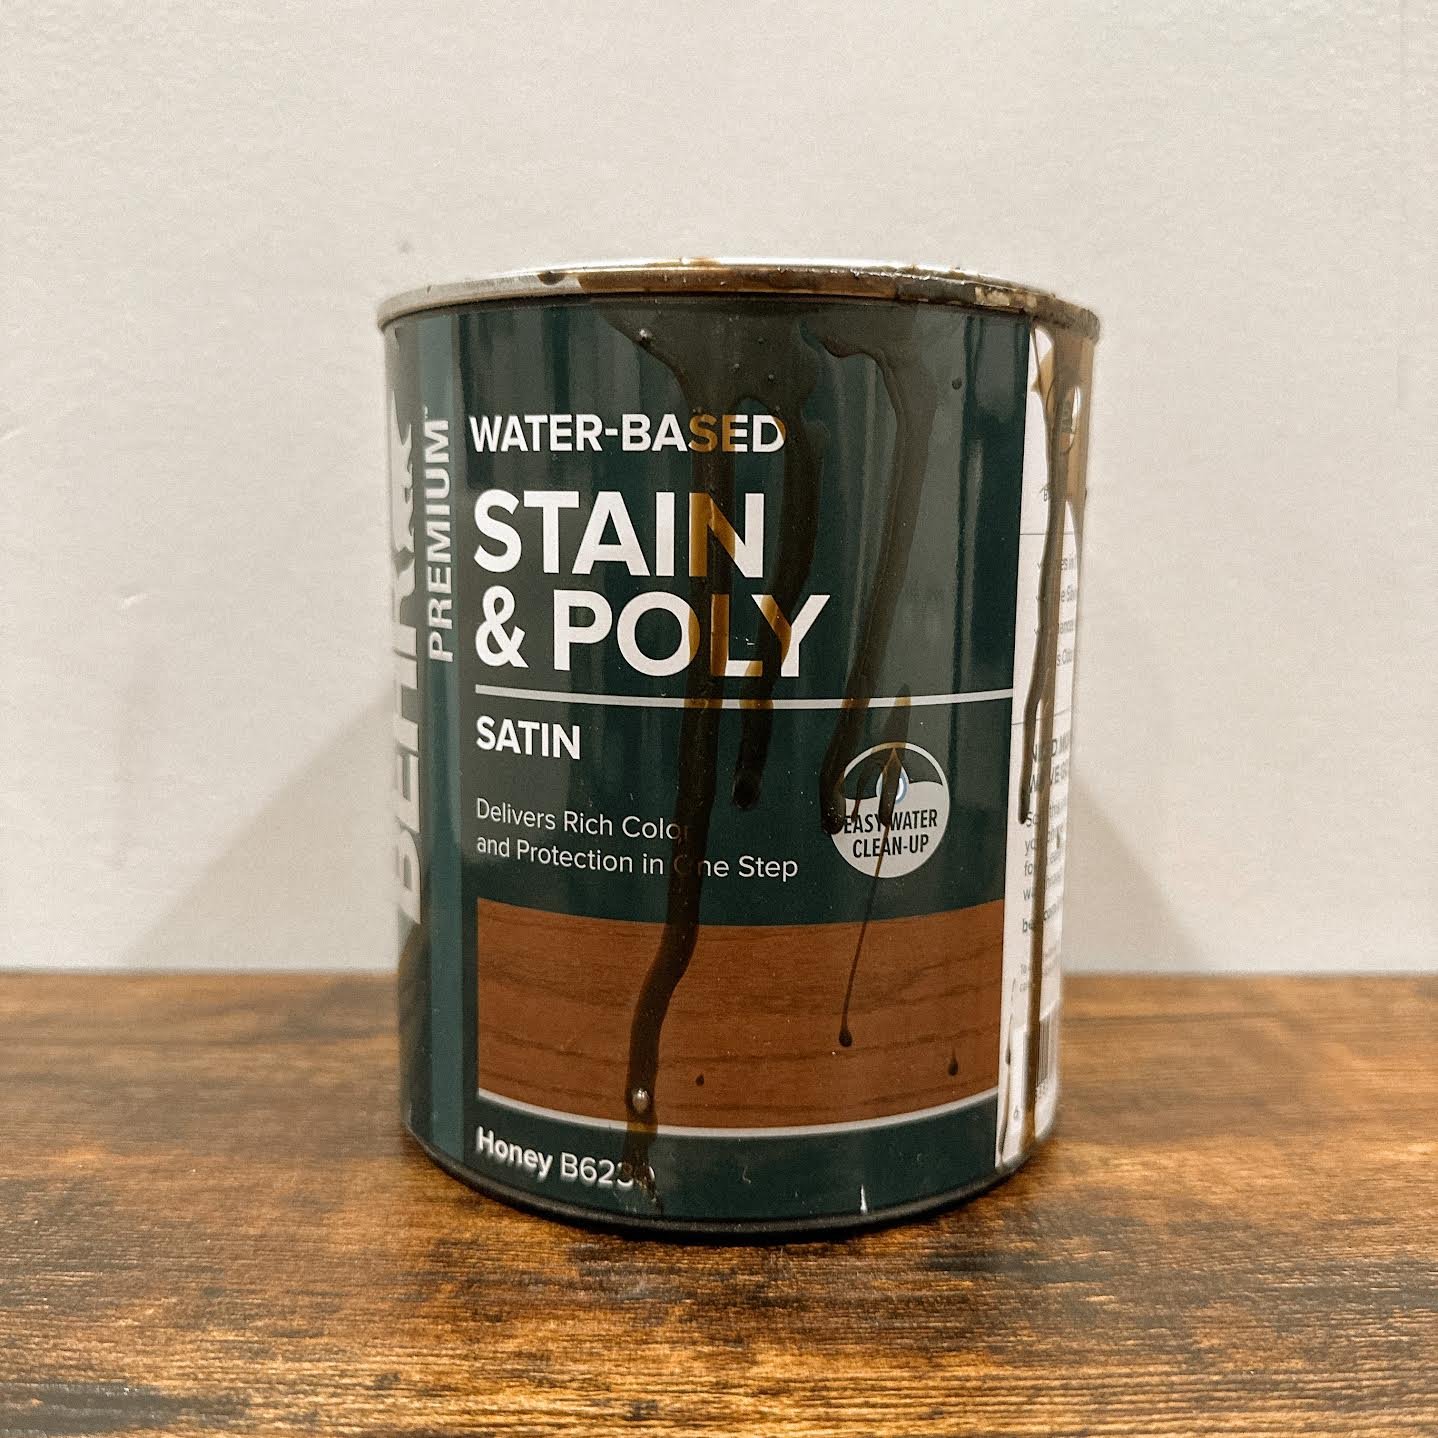
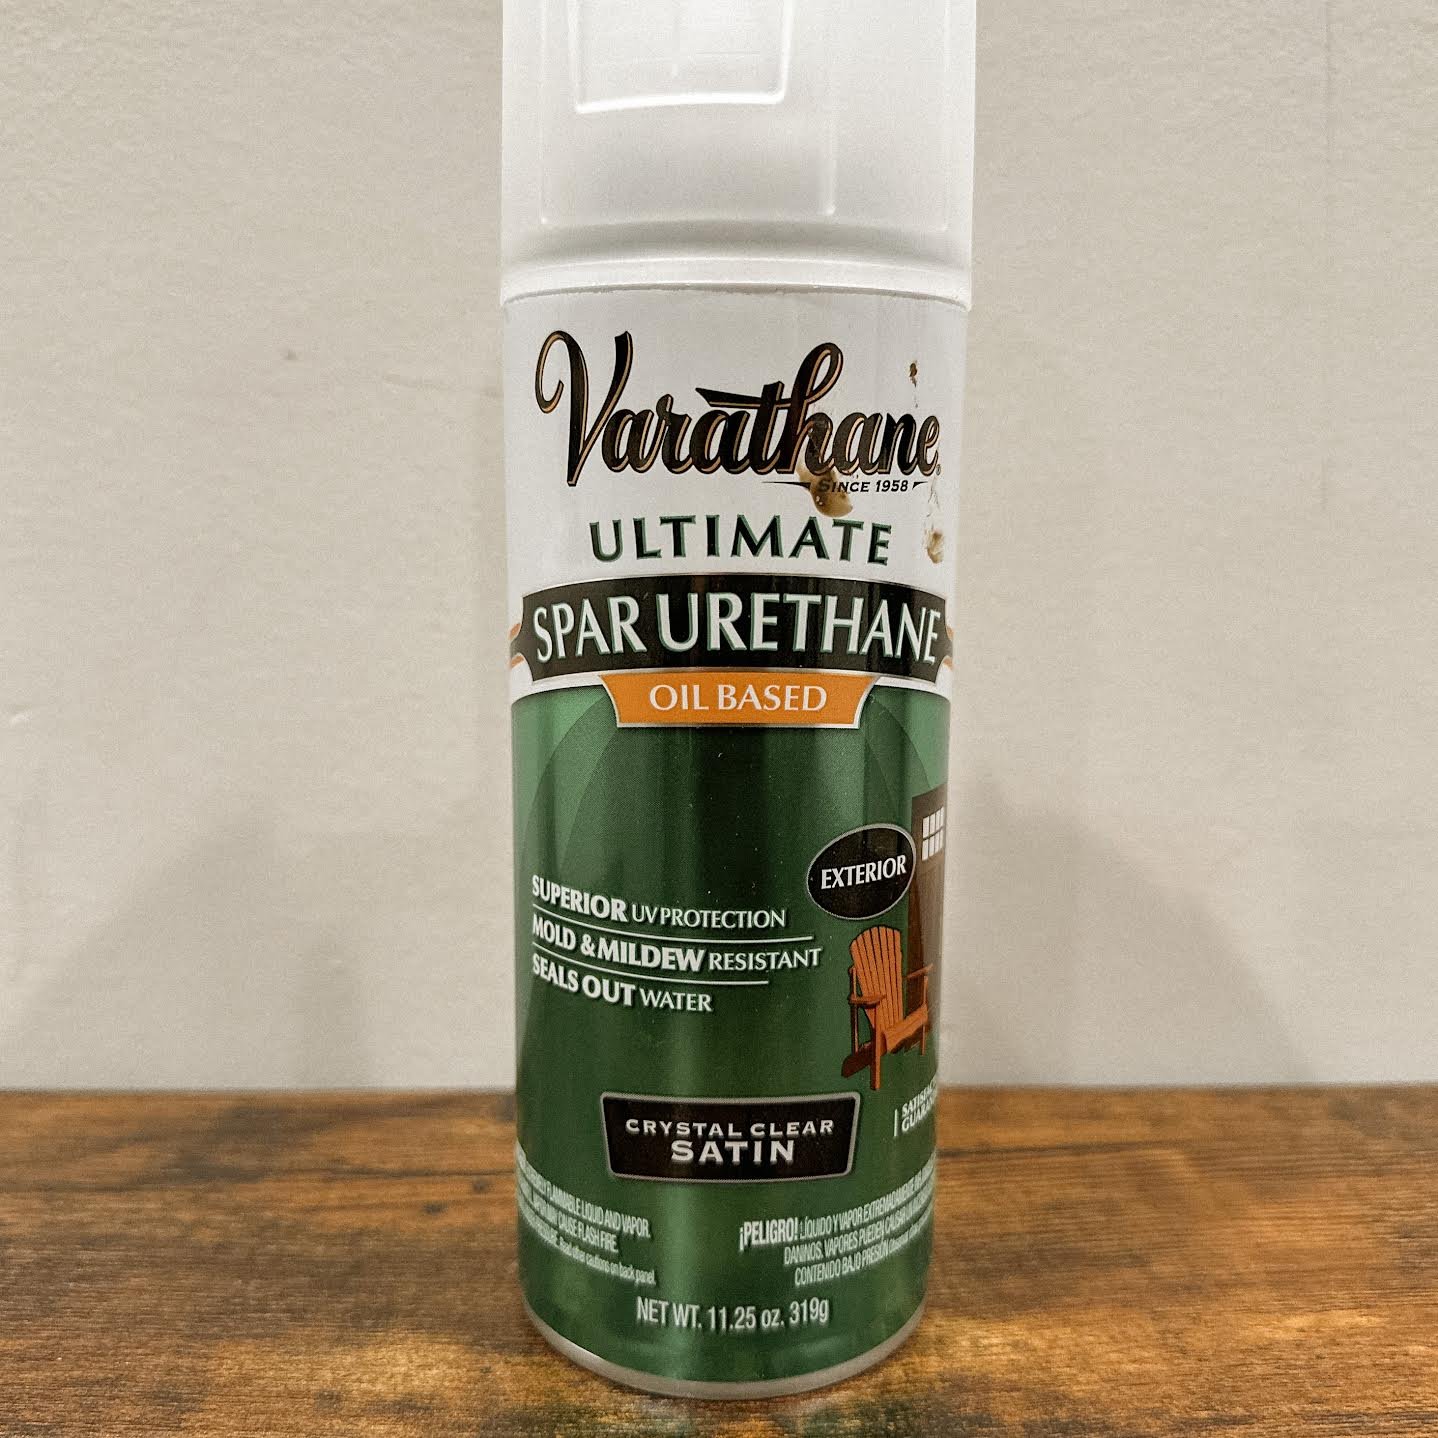
I browsed Pinterest for .02 seconds, screenshotted the two most visually appealing (to me) mud kitchen renos I saw, and decided we needed to run to Home Depot for an expert’s opinion on paint/stain/sealant. I was going for a stain and paint combo look. I wish I had spent more time thanking the gentleman who helped us; he was a gem and educated me on the products that would work best and last the longest. We were recommended three products: a quick-drying water-based stain (we opted with a poly blend to help protect the surface from water), an outdoor paint with primer (a semi-gloss to allow painted surfaces to be wiped down), and a mold and mildew resilient exterior sealant (we went with a satin finish to reduce shine).
As soon as we returned home, I placed our mud kitchen in the black mulch of our side yard and began the process, which I will outline more thoroughly in a section below. Using a rag, I stained the top surface of our mud kitchen with the honey-colored stain. I used a rag to get in on smoothly without drips. Next, I carefully painted the legs, and back splash board with black exterior paint. This surprisingly offered excellent coverage and didn’t seep into the pine as I had expected. A thick coat did the trick, with a few laps over the wood creases. At this point, my sweet neighbor had come out to chat and offered to hold our baby while my husband supervised our older children. We chatted while I painted, which made the time seem faster. I highly suggest using quick dry options if you are anything like me, pretty impatient- ha!
I am really happy with the results aesthetically and functionally! What do you think?!

DIY SHOPPING LIST:
You may click on the images below for direct links, or search your hardware store for similar. You should only need the stain and paint in Quart sizes.
DIY MAKEOVER INSTRUCTIONS
After removing any hardware, fixtures, or shelves from your mud kitchen, you can follow these instructions below. I recommend following these steps outdoors in an open area away from children and pets. This process is going to vary depending upon the brand and variety of products used. I opted for quick dry options for the sake of time.

STEP ONE - SAND: Give your mud kitchen a good wipe with a dry or wet cloth to remove any loose debris. You’ll then want to sand down your mud kitchen using a hand sander. I’m not expert on the grit of the sandpaper, we just used the pads that came in a mouse sander. A mouse sander has a point on one end which may help get into the nooks and crannies, but any electric hand sander should work fine. Sanding the surface does three things. One, smoothness. Sanding will remove any splintering edges, too. Two, sanding will remove water marks and mildew as best as possible. You might want to use some elbow grease in areas stained darker. It will not remove everything in its entirety, but it did a pretty good job for us. Three, sanding prepares the area to best hold stain. Wearing protective goggles and a mask isn’t a bad idea during this step.

STEP TWO - STAIN: Choosing a stain color will take longer than it does to actually stain. You’ll want to wear gloves for this step. Using a clean rag versus a paint brush will lessen your chances of dripping stain and offer better control, too. If you are not staining the entire mud kitchen, taping off areas that you will later paint (particularly if you are using a light color paint) will be beneficial. Do not stain areas you will want to paint. To stain, simply fold a clean rag into a bundle and dip into the stain. Rub over the surface of your mud kitchen evenly, avoiding piling into creases. Any “puddles” will result in darker, uneven staining or odd bumps when the stain dries. After an even coat, you can wipe and smooth with a clean cloth. Determine if the color meets your expectation; you may repeat this process a time or two depending on your preference. Note: Using a stain product with a poly blend will allow for quicker drying. Otherwise, your surface may remain tacky for a bit and will need to dry thoroughly before any next steps. Humidity levels will affect drying time.

STEP THREE - PAINT: Any brand exterior paint should do the trick here. A paint/primer combo may result in less coats needed, and a semi-gloss finish will allow you to wipe your mud kitchen clean more easily. Using a paint brush, slather paint on any surfaces you would like cover (we chose black) and allow to dry. If you are not using a drop cloth or tarp, leaving the bottom 1-2 inches free of paint will offer less mess. You can lay your mud kitchen down once already painted areas are fully dry to focus on that area next. If you are wanting to avoid further moisture damage, I also suggest painting the back of the mud kitchen. Covering as much of the surface with paint or protectant spray will add to the longevity of your mud kitchen.

STEP FOUR - SEAL: A spray sealant will offer faster dry times, but a paintable option will offer the fullest coverage. This choice is up to you. You will want to use an exterior oil-based polyurethane that is made specifically for sealing out water, mold and mildew. There are various finish options, such as high gloss, semi, and satin. A satin will offer the least sheen. If using a spray like us, give your mud kitchen a thorough, even coat. You may wish to add additional coats for further protection, especially if your mud kitchen will see a lot of water play. Sealant will remain tacky until fully dry regardless if you use a liquid or spray. I sprayed two coats of Spar Urethane on the surface of the stained areas and allowed it to dry overnight.
ACCESSORY SHOPPING LIST

Mud kitchens can offer many opportunities for imaginative play, role playing, fine motor development, stem activities, and more. It is a wonderful chance to provide self-directed play with purposeful items nearby to promote these skills in a practical format. Many of these items can be found throughout your home, or you can upcycle through thrifting- even finding inexpensively in a dollar store. I have provided a few online links, as well. You’ll want to avoid breakable items, such as glass, and have a container handy to store things when not in use.
-
Spray Bottles
-
Coconut or Wooden Bowls (You can spray with sealant)
-
Small Pots and Pans (Melissa and Doug at Amazon)
-
Fruit and Vegetable Stones (DIY or Yellow Door Brand at Amazon)
-
Bubble and Wands (Chickadees Wooden Toys)
-
Cutting Boards and Play Knife
-
Measuring Spoons and Cups
-
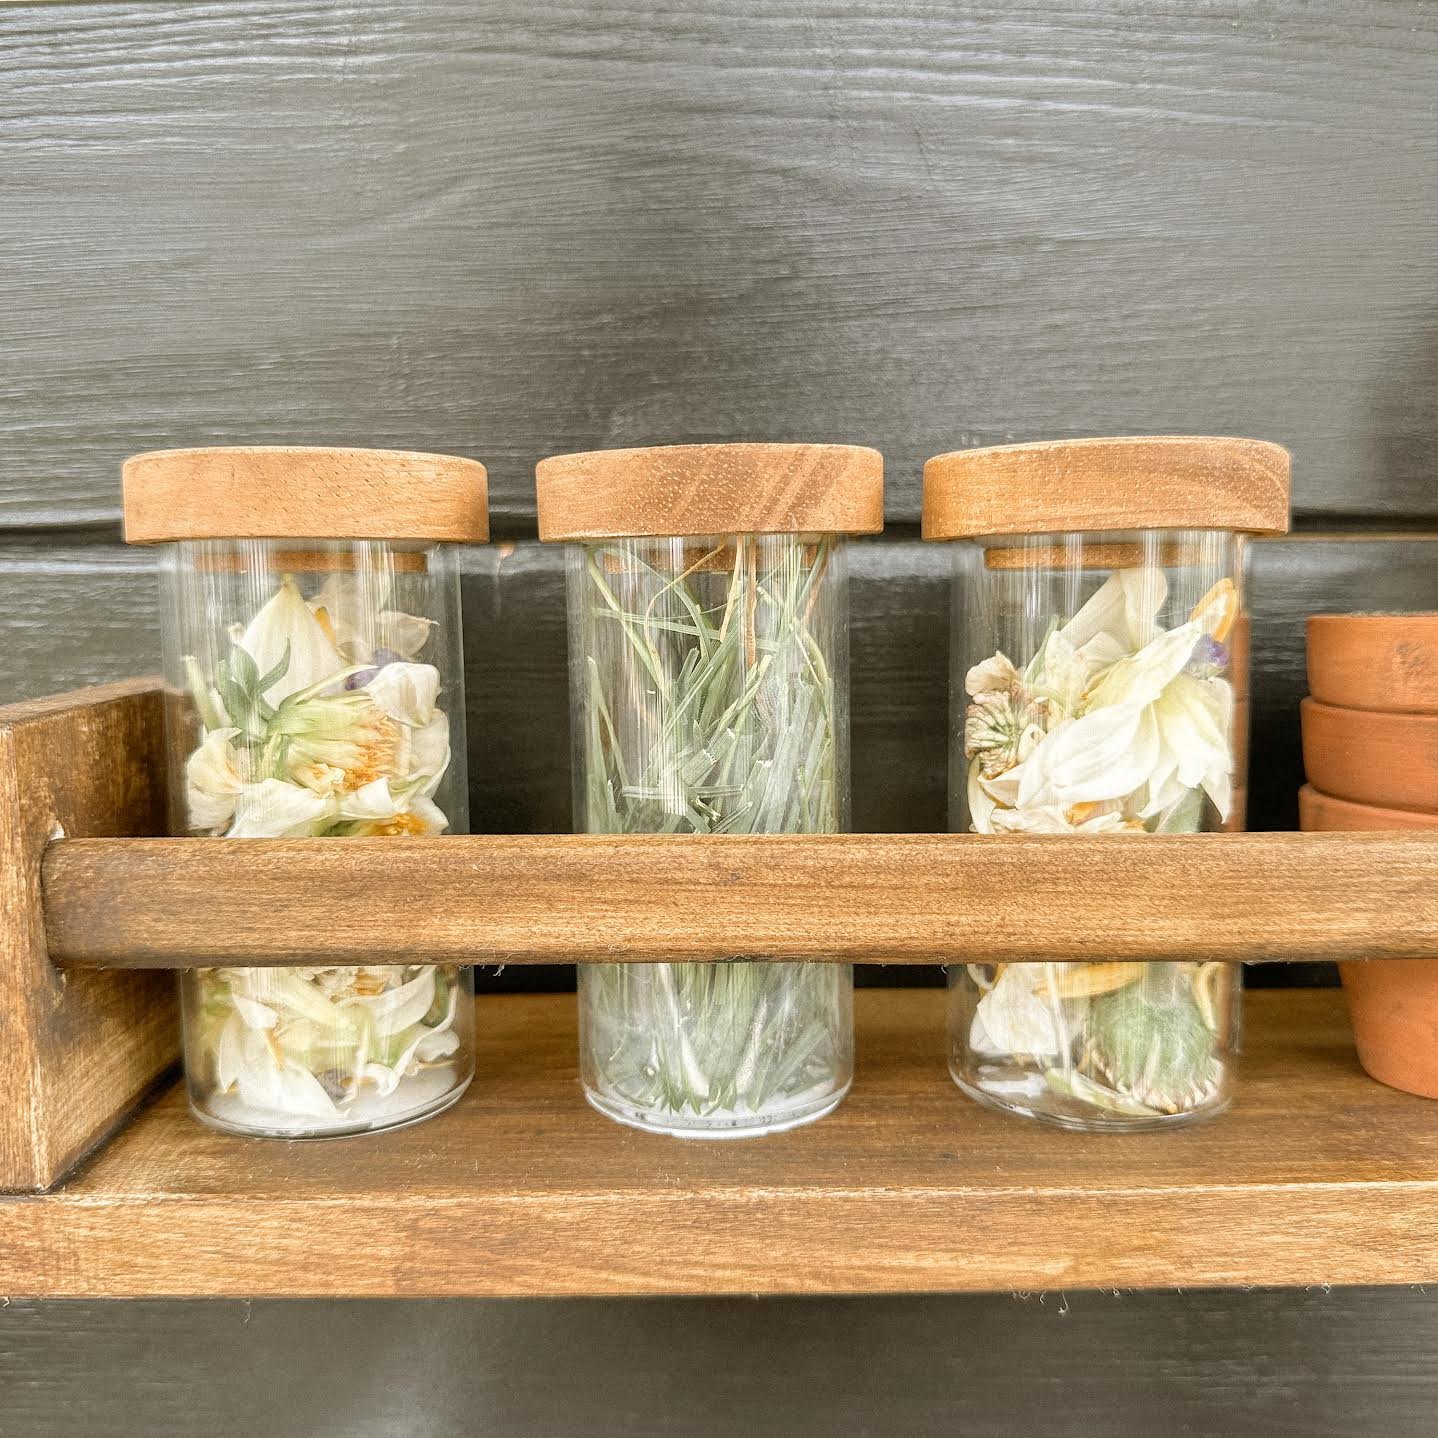
Jars for Flowers, Pebbles, and Grass (I use these)
-
Hand Towel
-
Miniature Watering Can
-
Several Small Terracotta Pots (can be used for tea/mud coffee)
-
Medium Terracotta Pot (or a jar to hold utensils)
-
Sticks and Stones
-
Muffin Pan (silicone may last longer)
-
Scrubbing Brush, Sponges, and Soap
-
Coconut Scoop (how fun are these)
Seasonal Ideas:
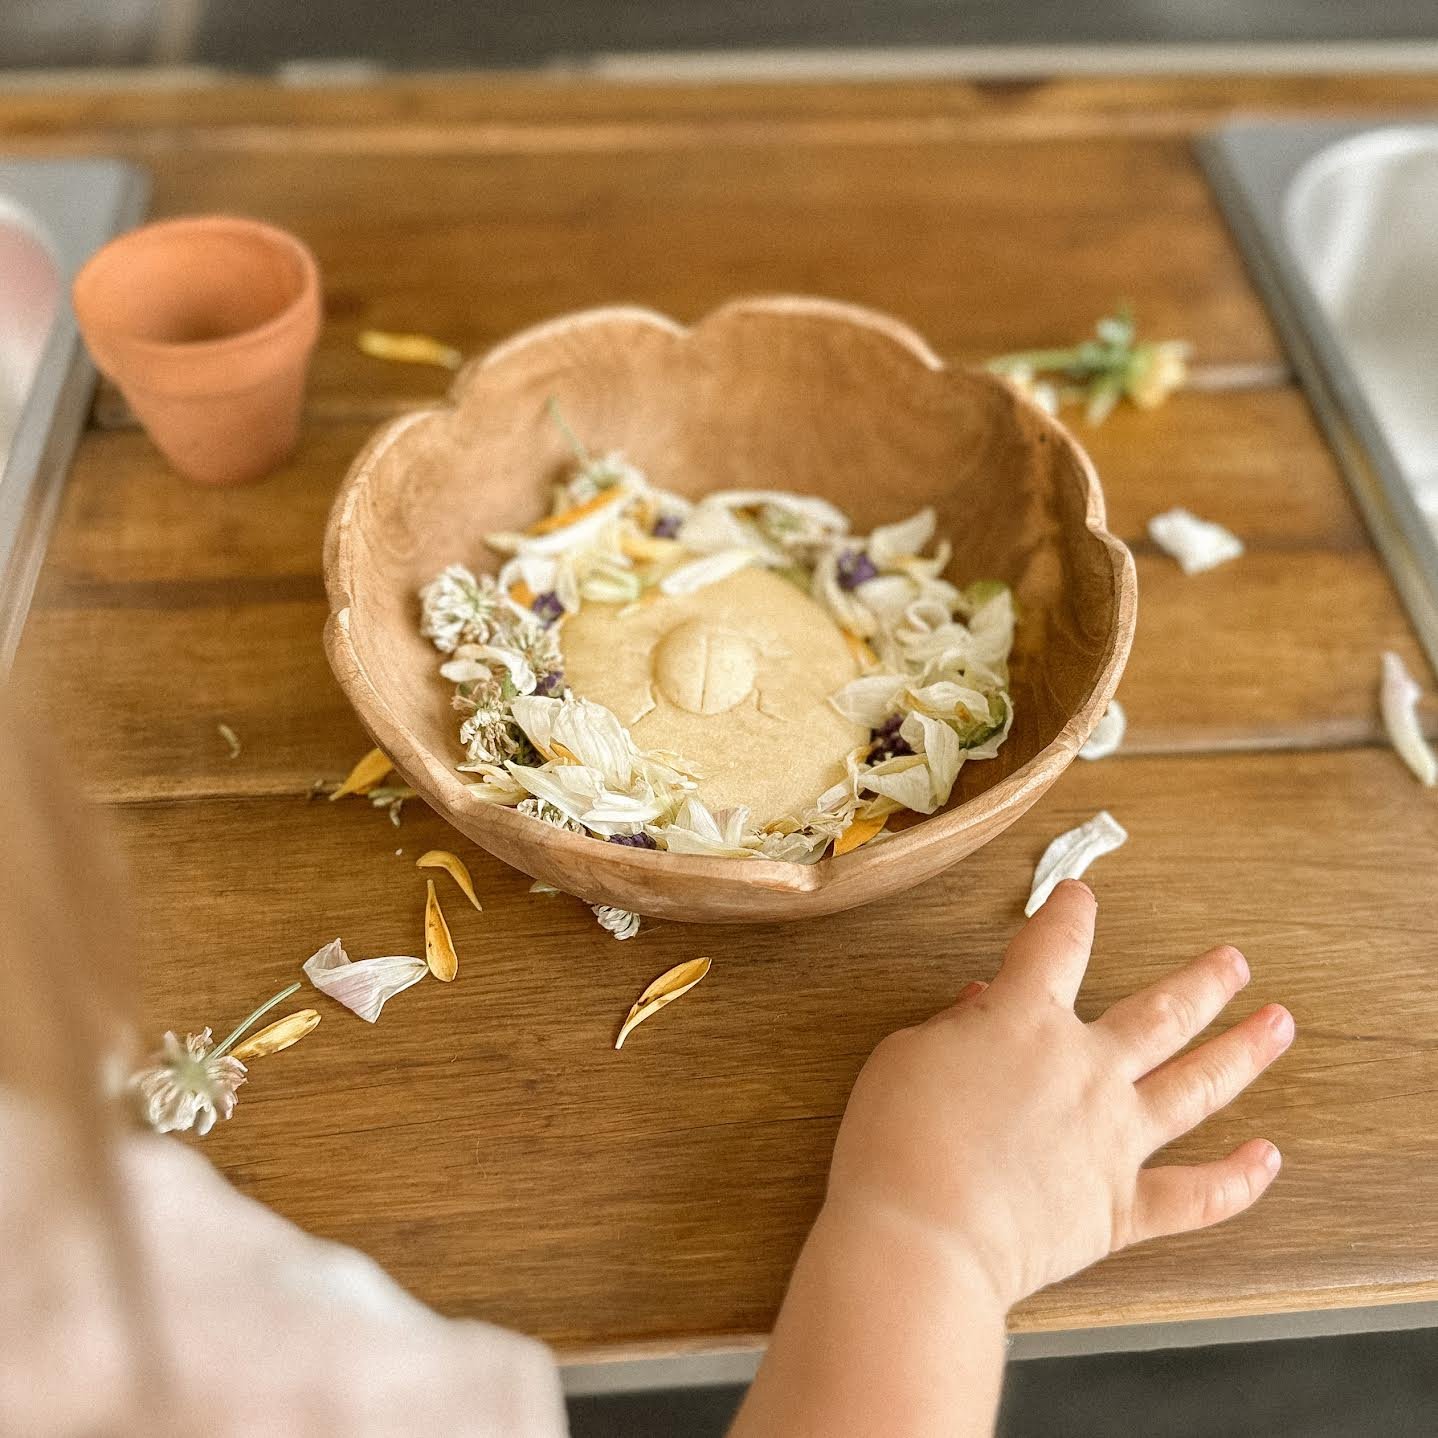
In the Spring - pluck flowers or create flora infused playdough
In the Summer - wash and sort seashells, add sand and sifters
In the Fall - dissect apples and pumpkins or sink + float experiments
In the Winter - experiment with snow, evergreen and pinecones
In Any Season - freeze nature findings or small figurines in ice cube trays and spray with warm water to watch them melt

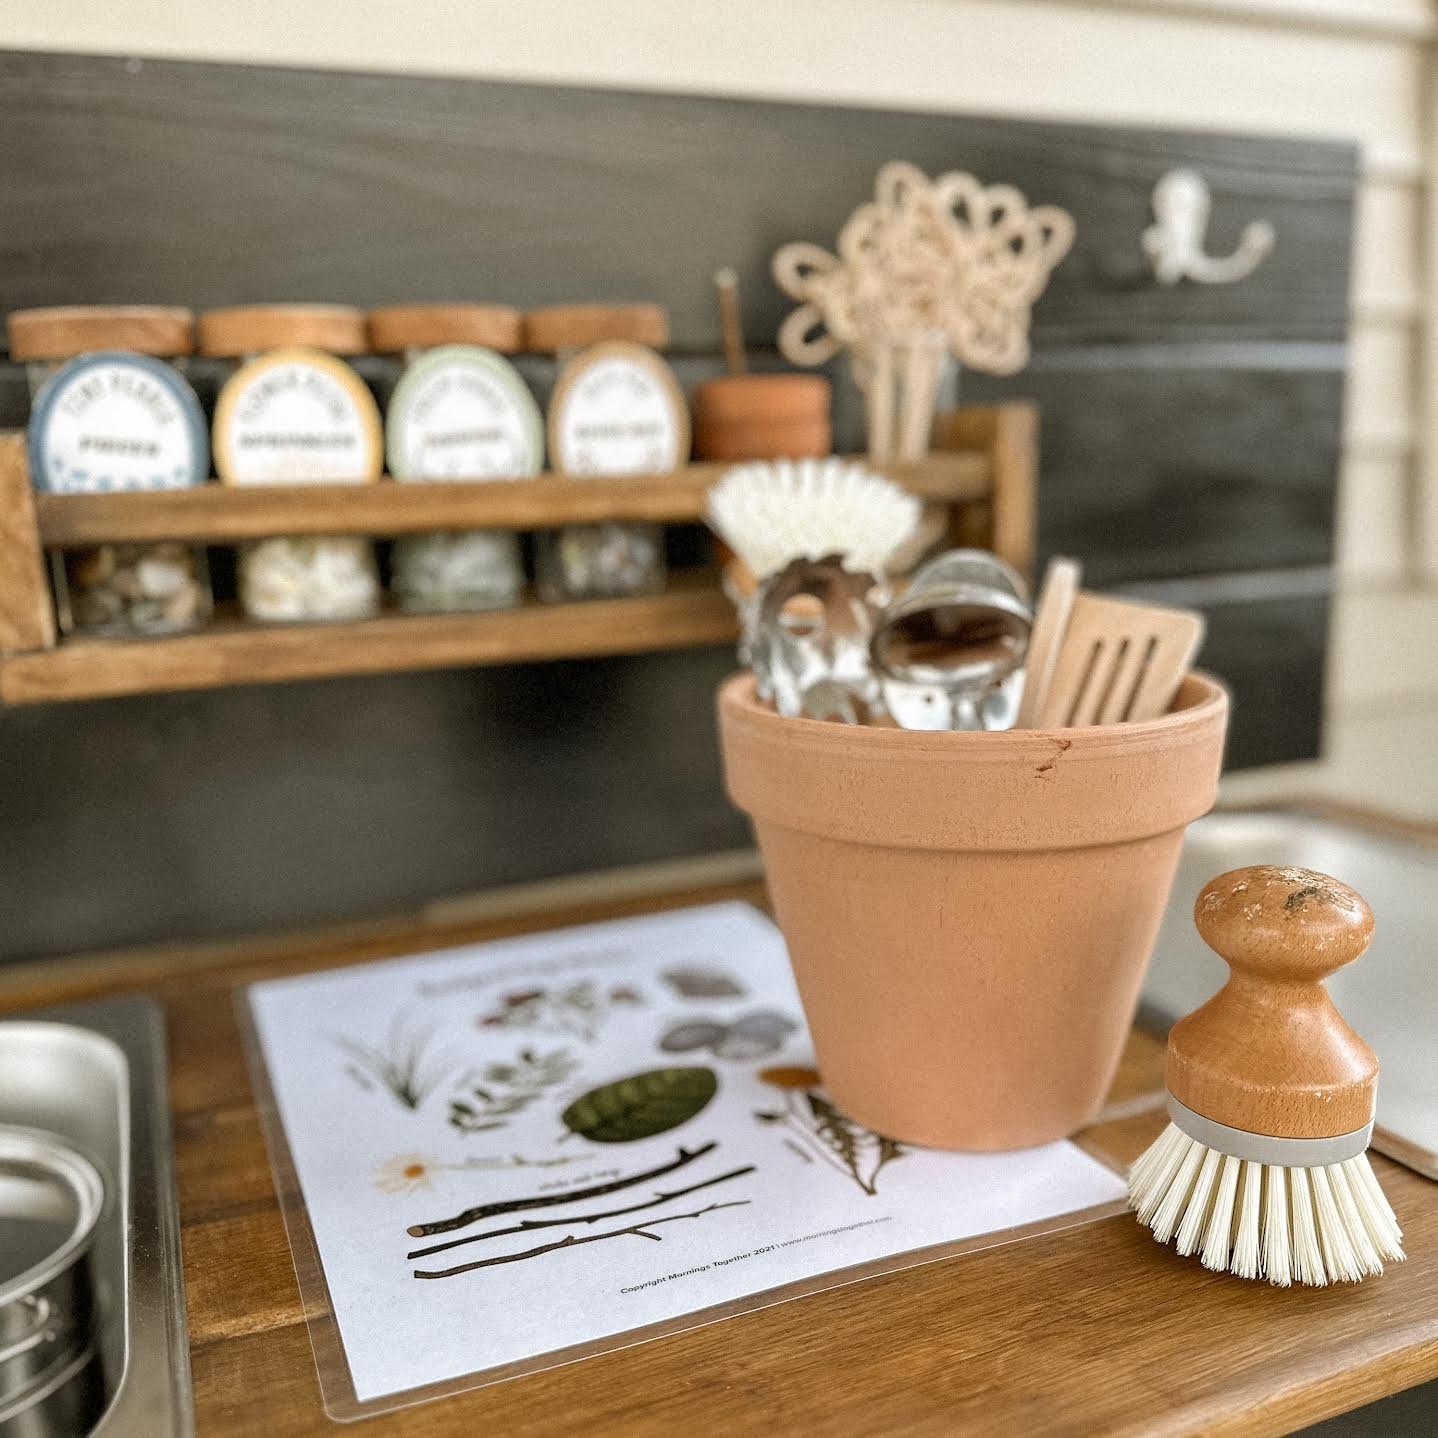
I really love to make things beautiful to add extra marvel and wonder, so I displayed these mud kitchen printables created by my talented friend Christina from Mornings Together. These are a free resource; all you have to do is sign up for her email list via the link to receive. Mornings Together offers a huge online catalog of nature-themed early learning activities and files that we have loved using in our homeschool. Laminating products will keep them safe from stains and mess if using outdoors. You can use my code SMITTYFAM10 sitewide at Mornings Together.


